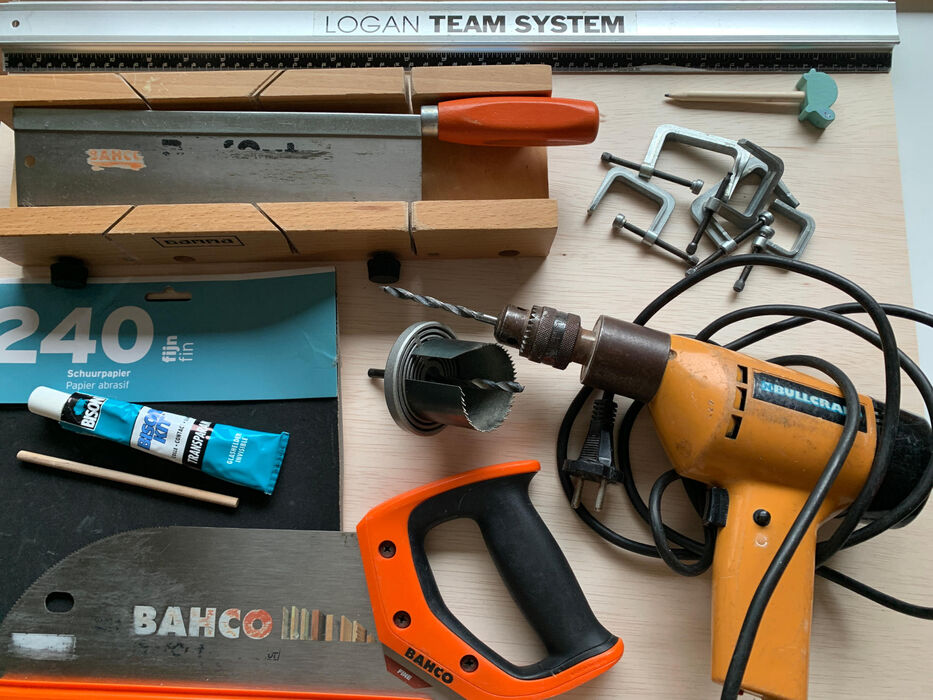
What do you need?
An empty cardboard box
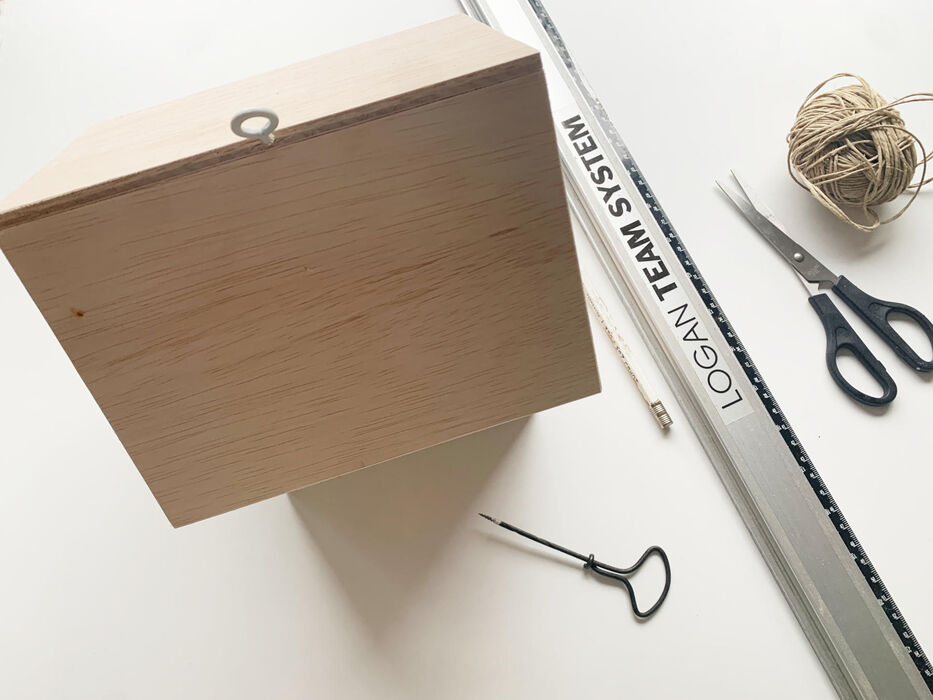
A pencil and ruler
Scissors, a cutting mat and knife
Hobby glue
Piece of plywood
A handsaw
Wooden slat 9x9 mm
a wooden stick
Mitre box and saw
Sandpaper
Bison glue and glue clamps
an eyelet and a piece string

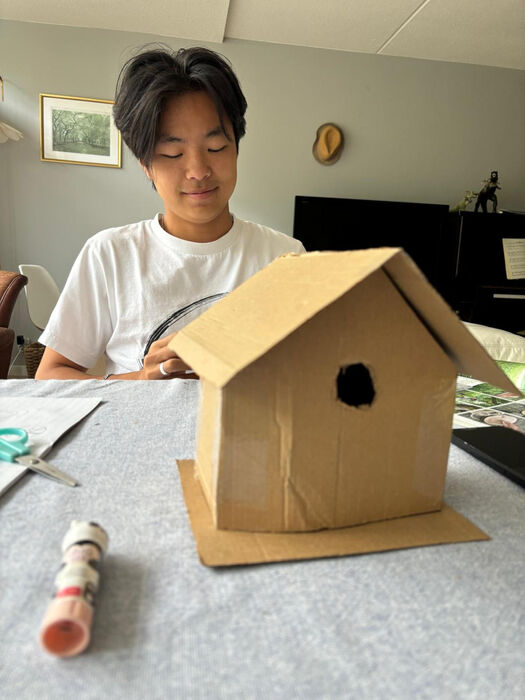
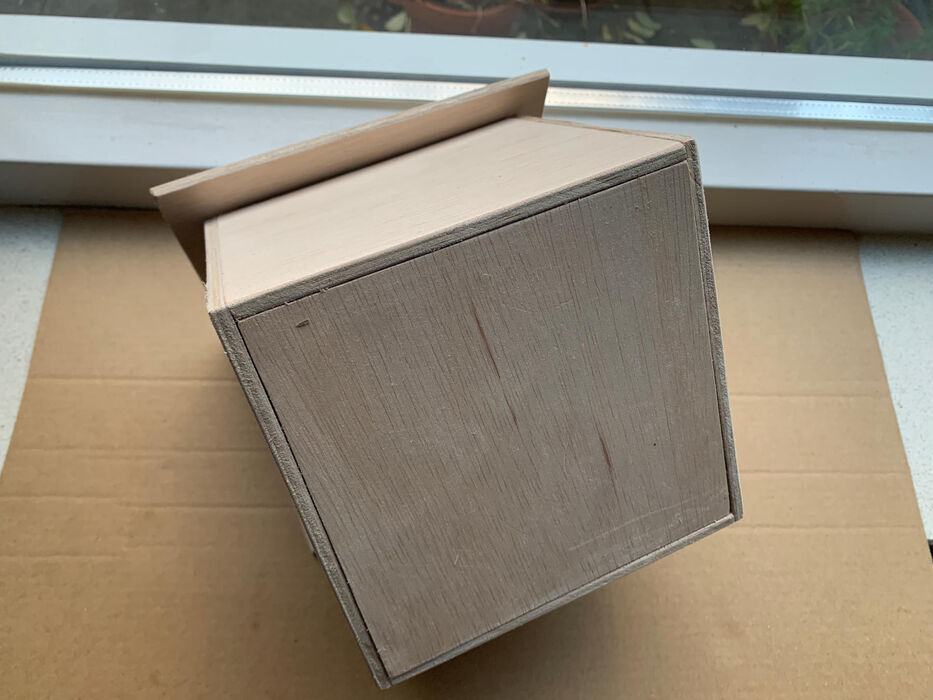
One of our (not-so-mini-anymore) monsters, J., had the idea to do something nice for the winter birds in our garden. It's cold outside, so a nice little house for the wild bird visitors seems like a good idea. J. first makes a little house out of cardboard, and then we all turn it into a beautiful wooden bird house.
You do need some serious tools, but the bird house is not really difficult to make. Ask an adult to do the sawing, just to be on the safe side. There's still plenty of work to do. Like gluing the bird mansion together and then painting it. ;))
Here's how to make a wooden birdhouse
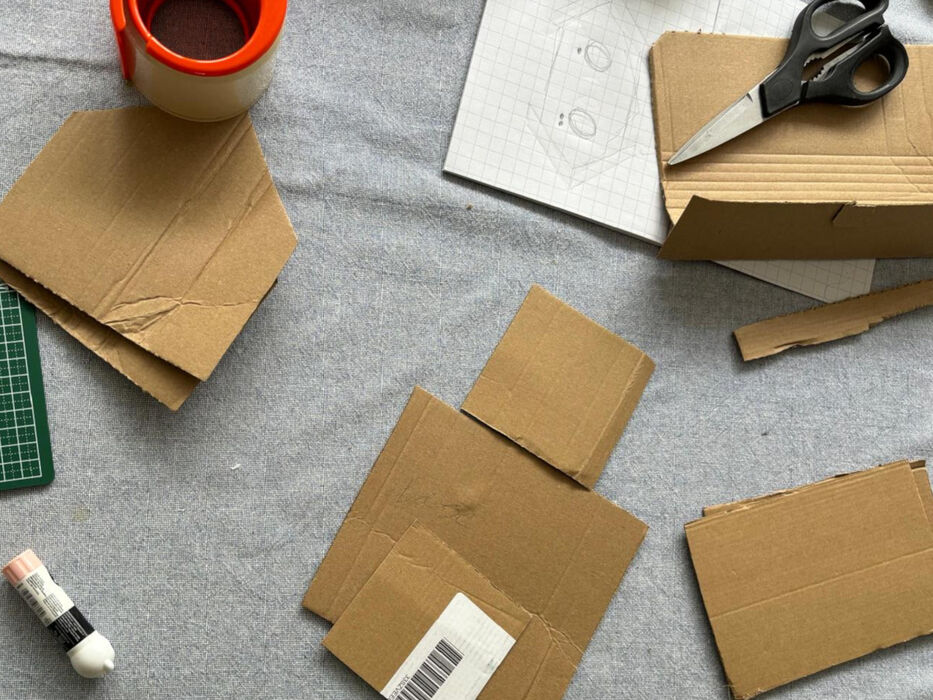
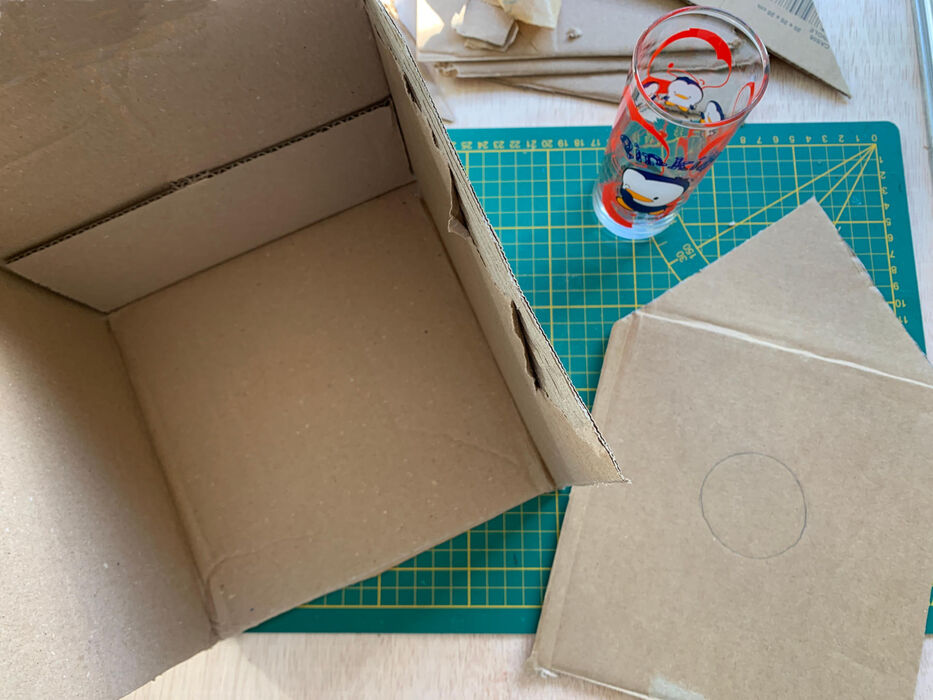
J. cuts out the walls, floor and the roof.
Then he glues some parts together.
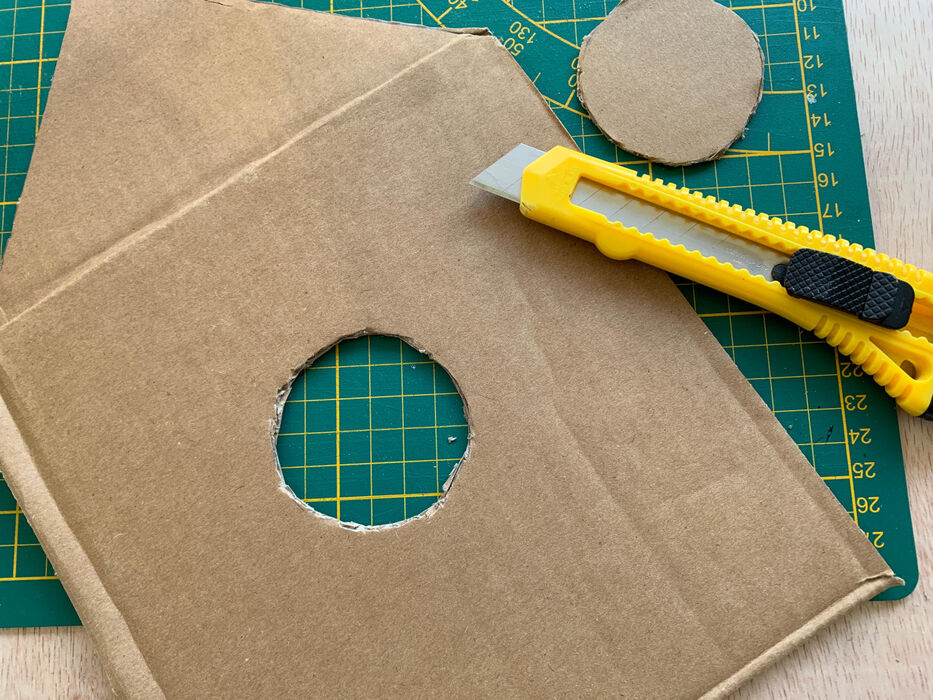
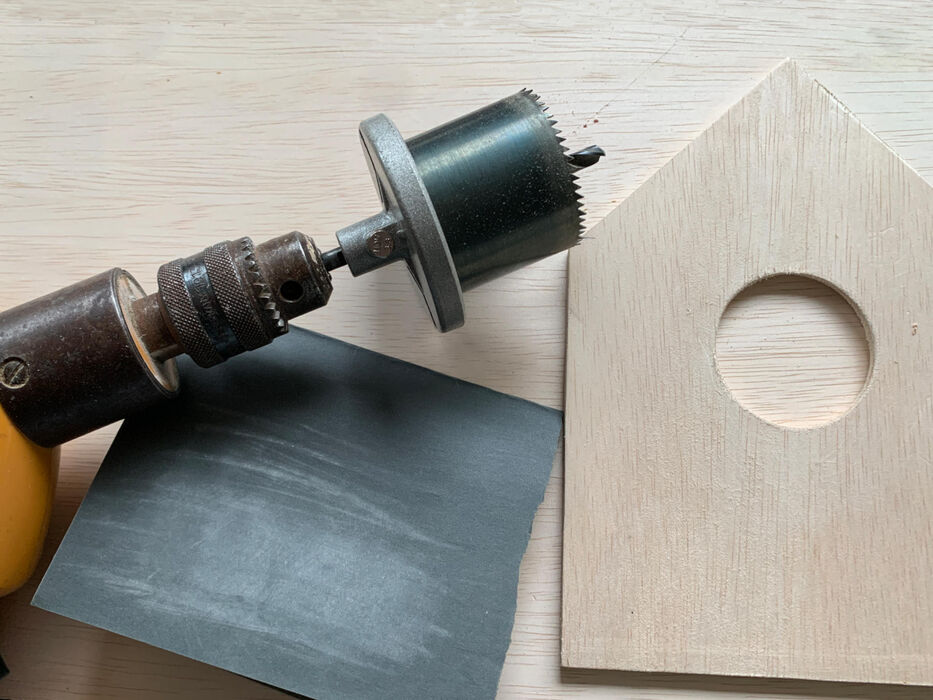
Cut a hole in the front before glueing it.


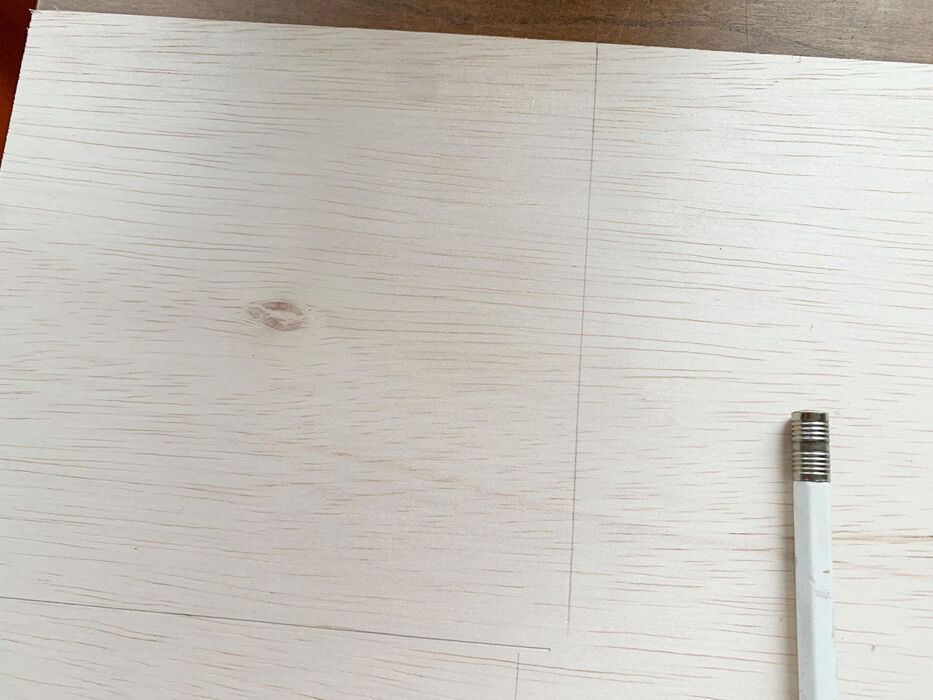
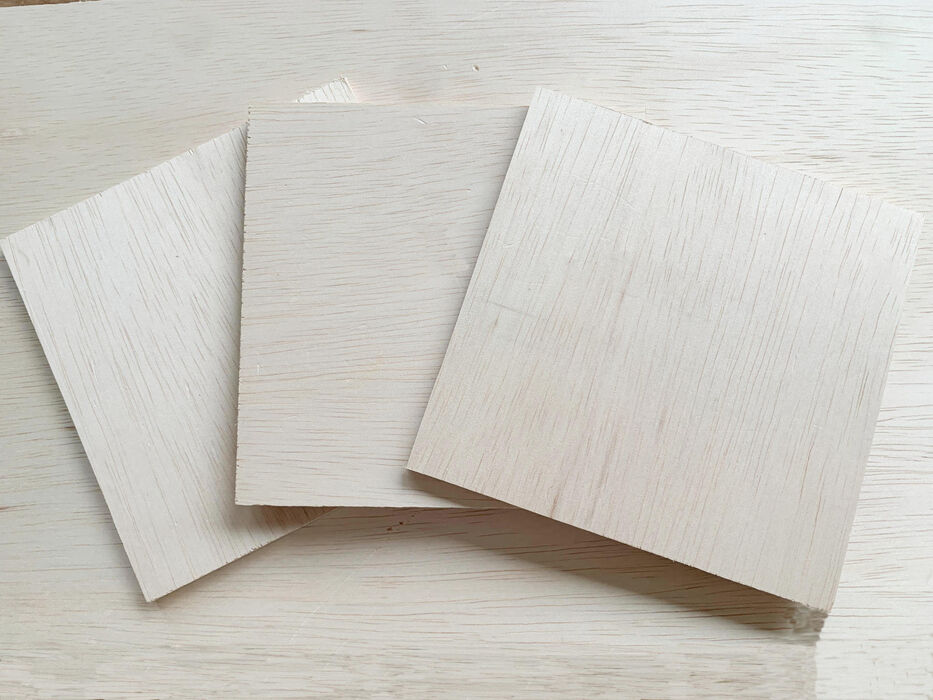
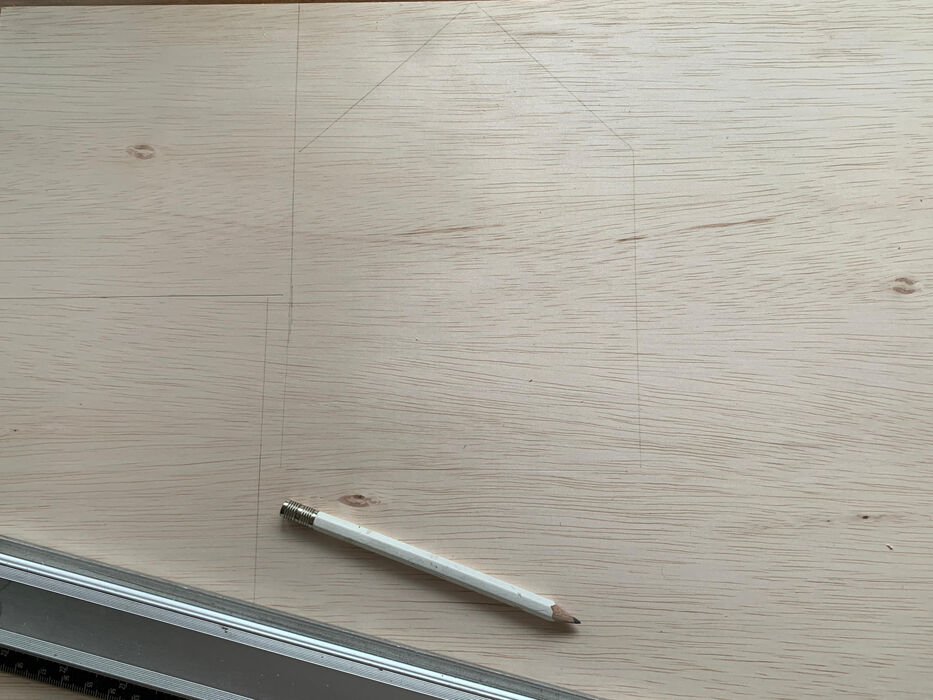
Draw 2 walls of 15x15cm and the floor 14x14cm.
Neatly saw off these 3 parts.
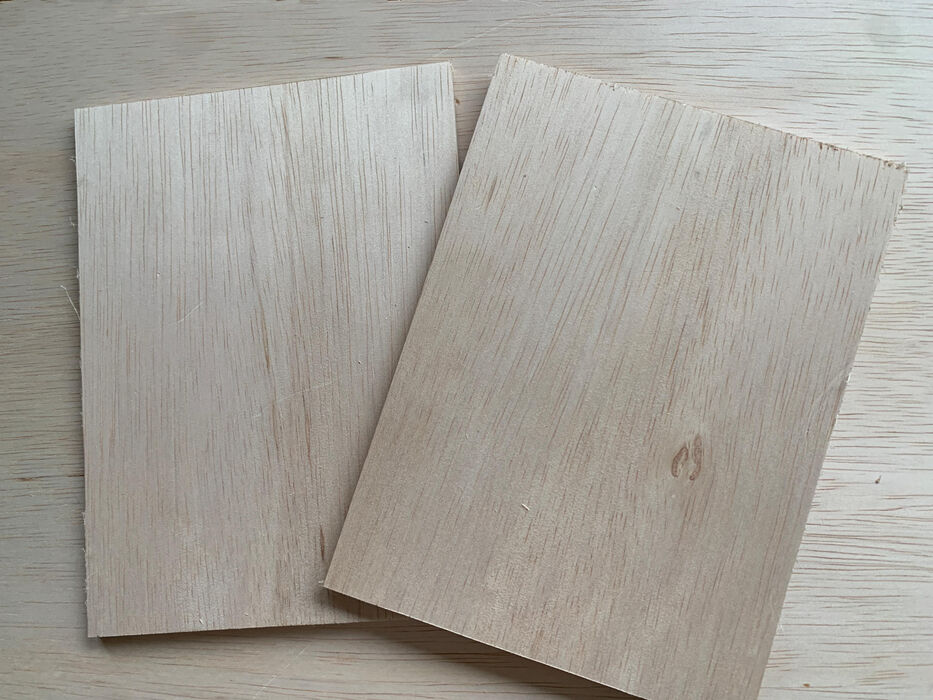
Deaw 2 roof parts 18x13cm and cut them out.
Draw the front and back wall, including the points.
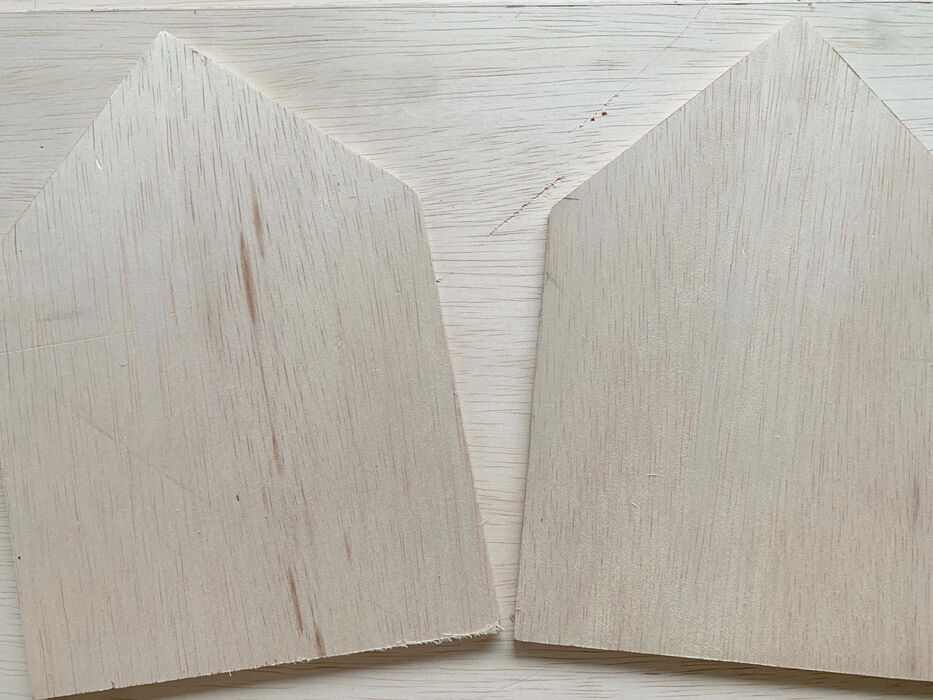
Neatly saw the 2 roof parts as well.
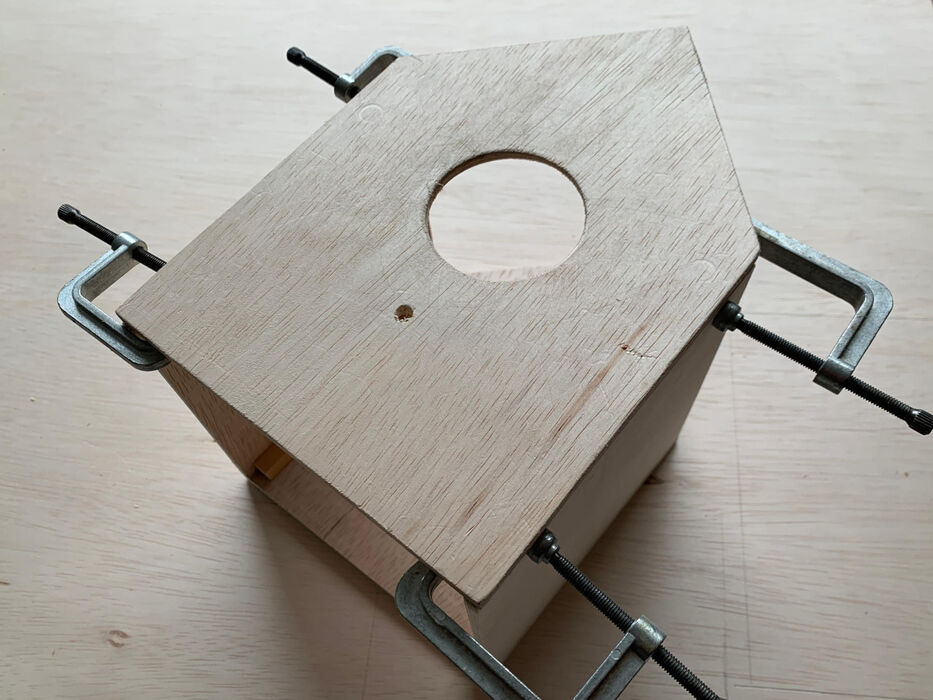
Firstly drill or saw out the entrance (the hole).
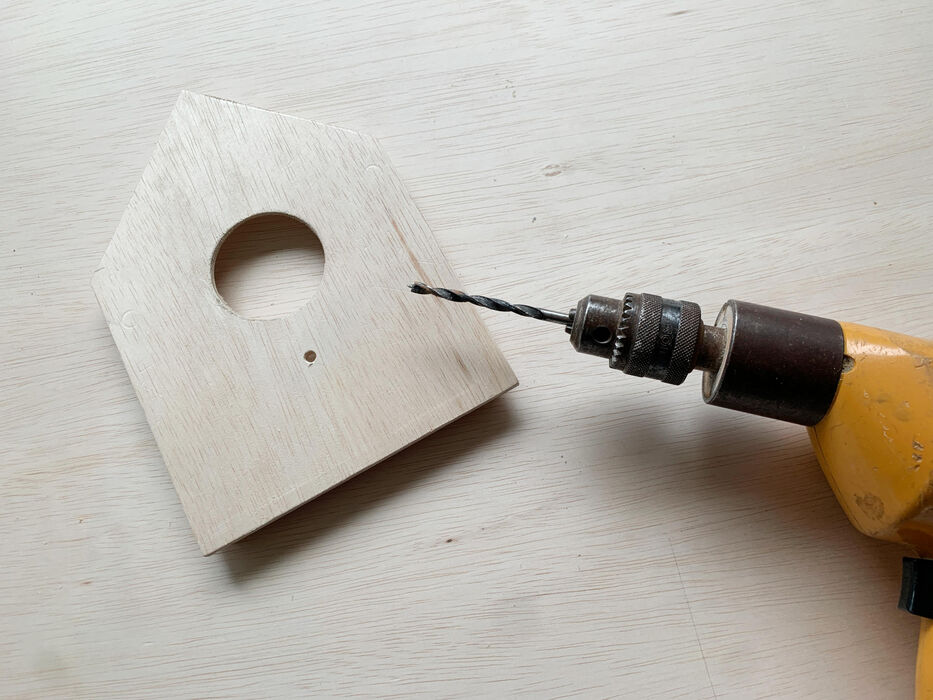
Drill beneath it - in the middle - a small hole.
Later you can glue the stick in there, so that a bird can sit on it
First you saw the beams to size, so that you can use them to firmly glue the house together

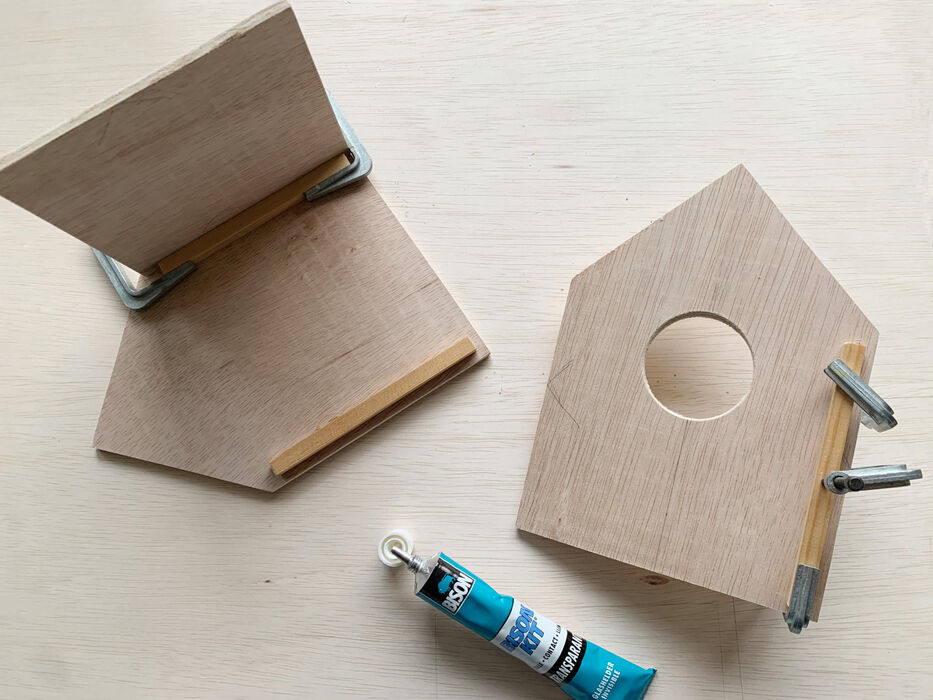
Firstly saw 13 beams to size, of 14x14 cm.
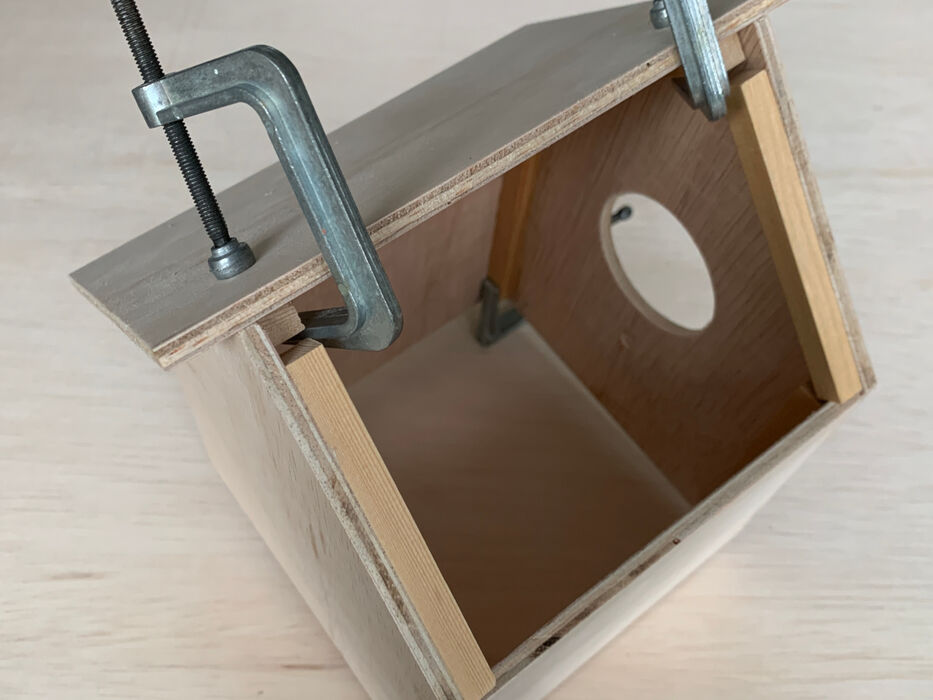
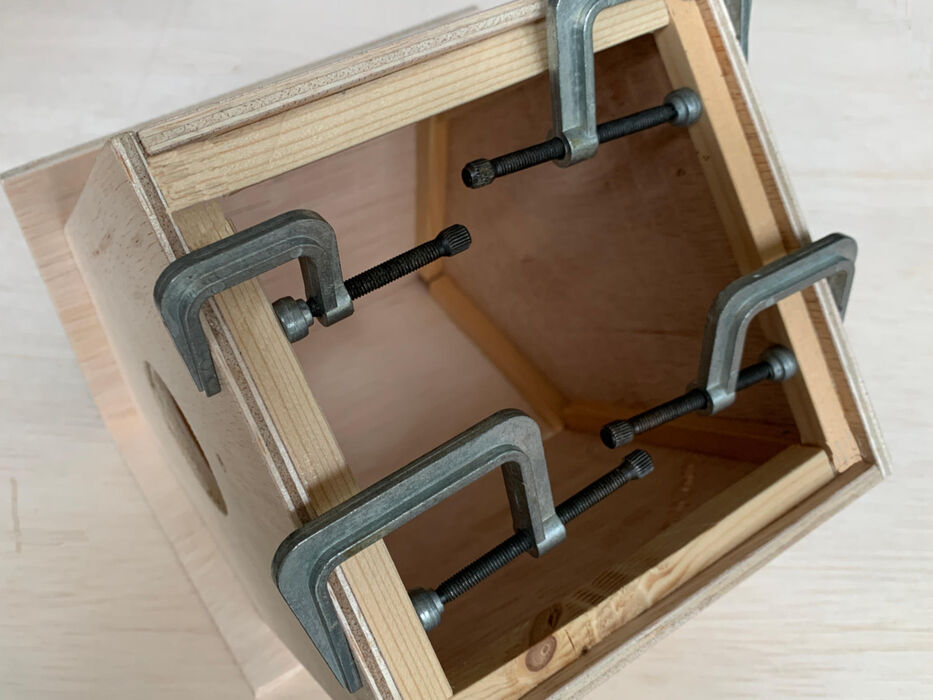
Glue 4 beams to the edges, on the inside. of the walls.
Place glue clamps on to allow the glue to dry well.
Glue on the roof, 2 beams on each side + 1 in the middle.
Glue 4 beams for the bottom and let dry.
Glue the floor onto the beams.
Twist a hole in the roof for the eyelet.
For your information. The paint we use for our birdhouse is a non-toxic, wood-protecting paint from MOOSE FÄRG. It's not cheap, but this is a high-quality, Swedish animal- and child-friendly paint, in beautiful retro colours. It makes ourbird house more beautiful, and the birds can enjoy their house for a much longer time.
Twist the eyelet out of the roof again and sand the bird house neatly, until smooth on all sides
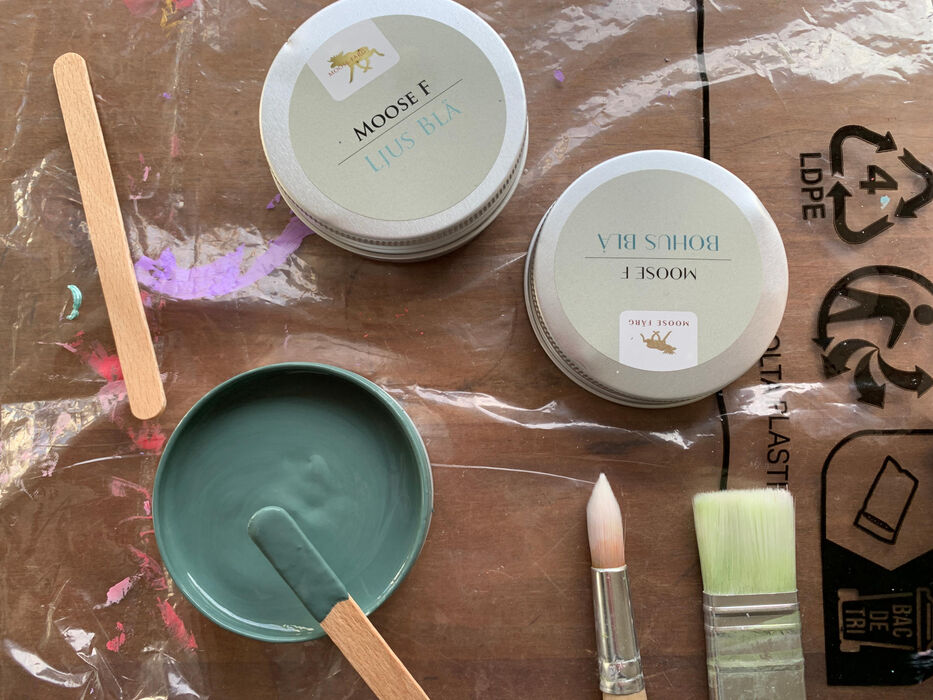
Stir the paint before you start.
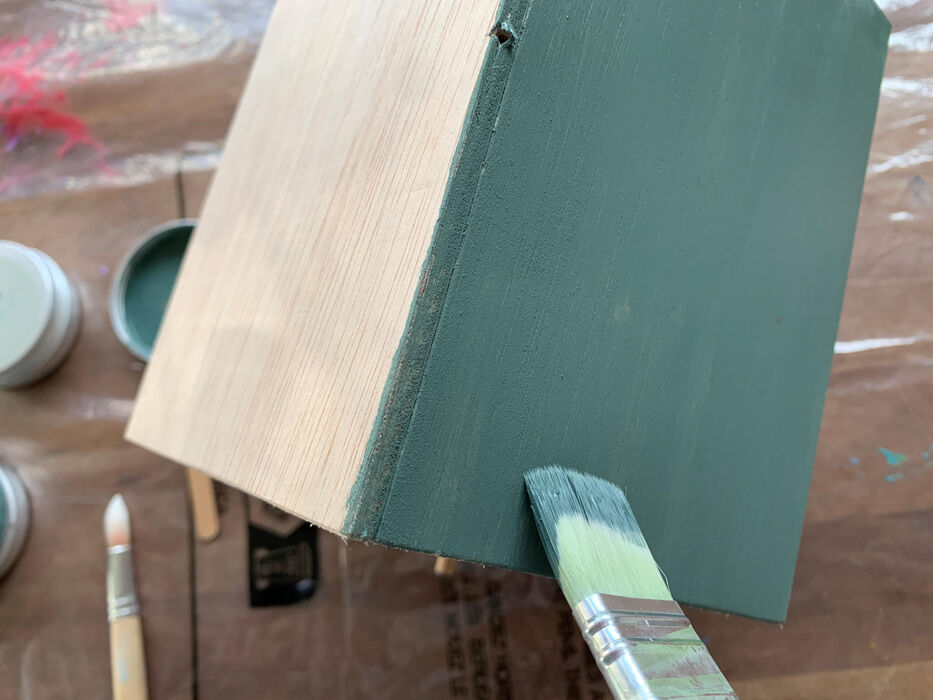
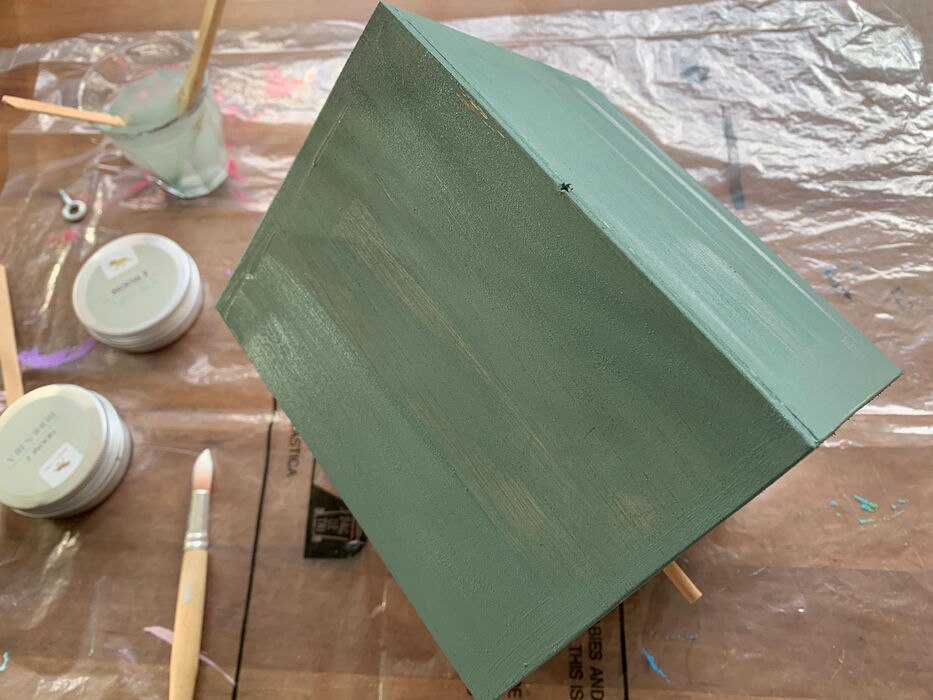
First paint the roof.
Let the paint dry for a while.
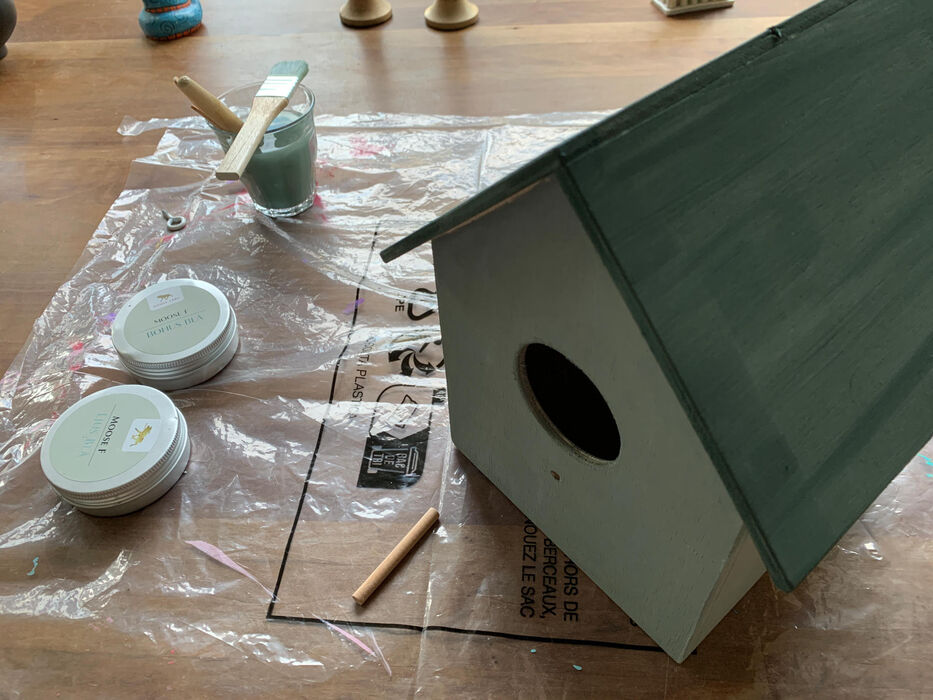
Pull the stick out of the hole.
Paint the 4 walls of the birdhouse and let them dry again, use painter's tape on the walls when you're painting the inside of the roof
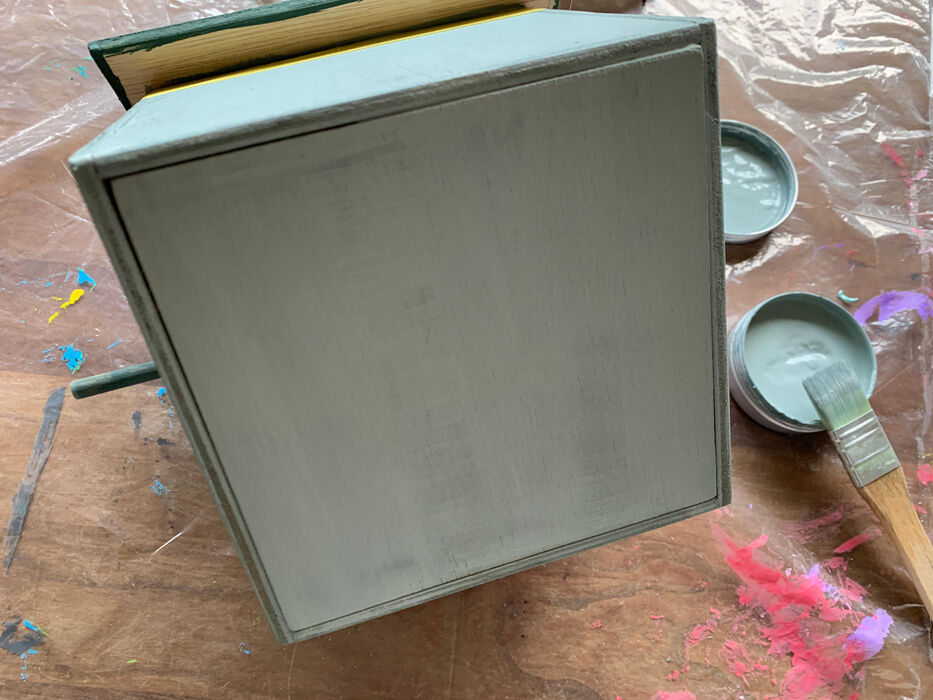
Paint the underside of the house and of the roof, let the paint dry.
Now you can twist the eyelet back in again and push in the stick.
We bought two sample pots of paint for the birdhouse. One pot would have been enough, but we wanted to use these two beautiful colours. The pots cost € 9.95 each and you can also use one colour, so that's manageable. You can put in a request for a free colour chart first, which will arrive in your mailbox the next day.
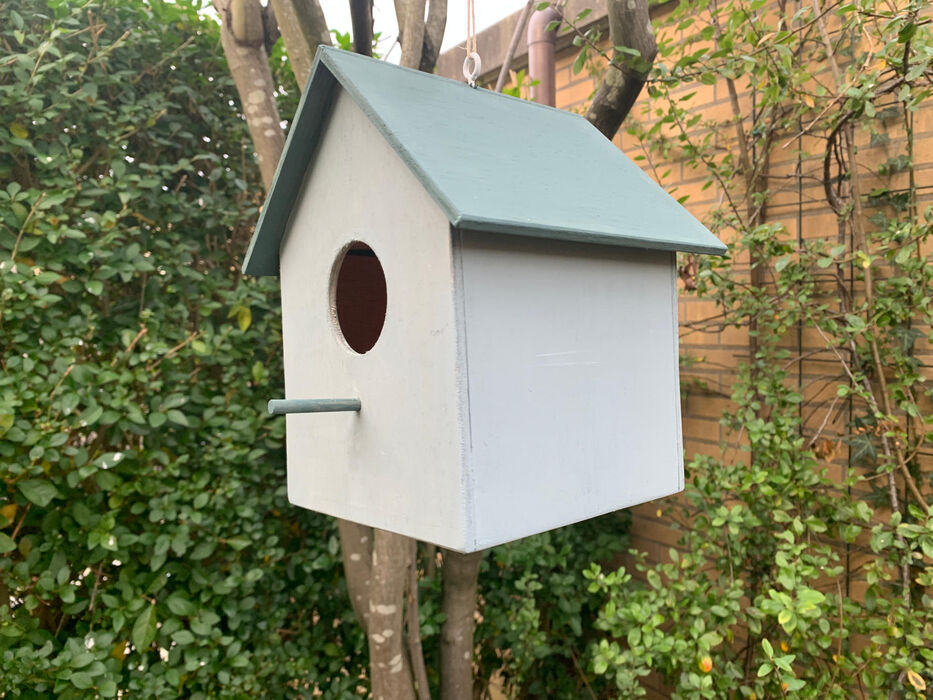
When the paint has dried twist the eyelet back in and push in the stick.
Now you can hang the birdhouse in the garden and just wait for new residents to move in!