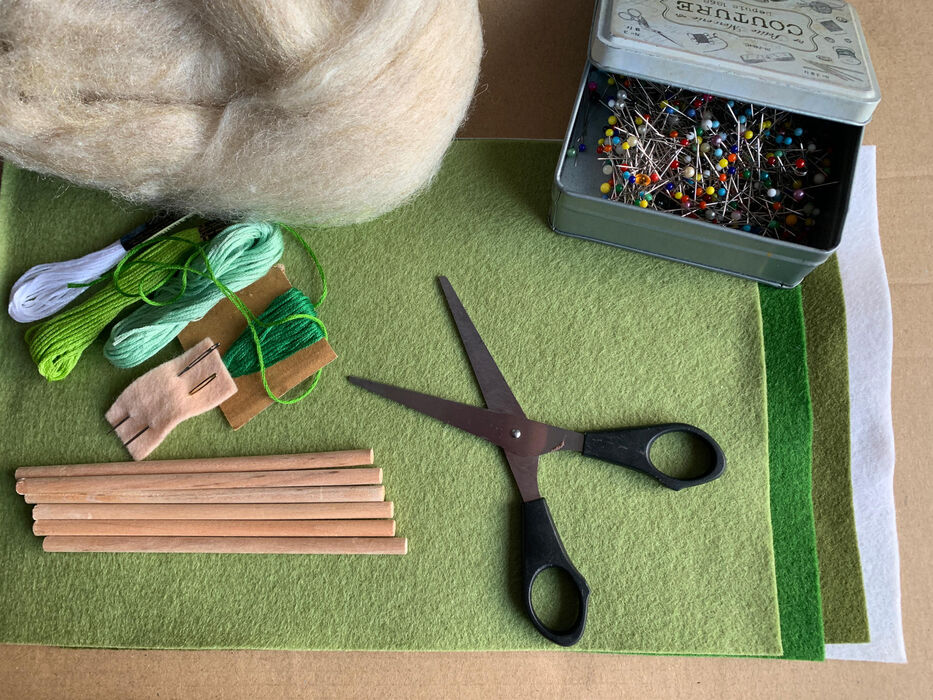
What do you need?
a print of our pattern
scissors
Woolen felt, green and white
pins
Matching embroidery threads
Embroidery needle
Wool stuffing
Thicker round sticks
Wooden beam
Saw and miter ball
Sandpaper
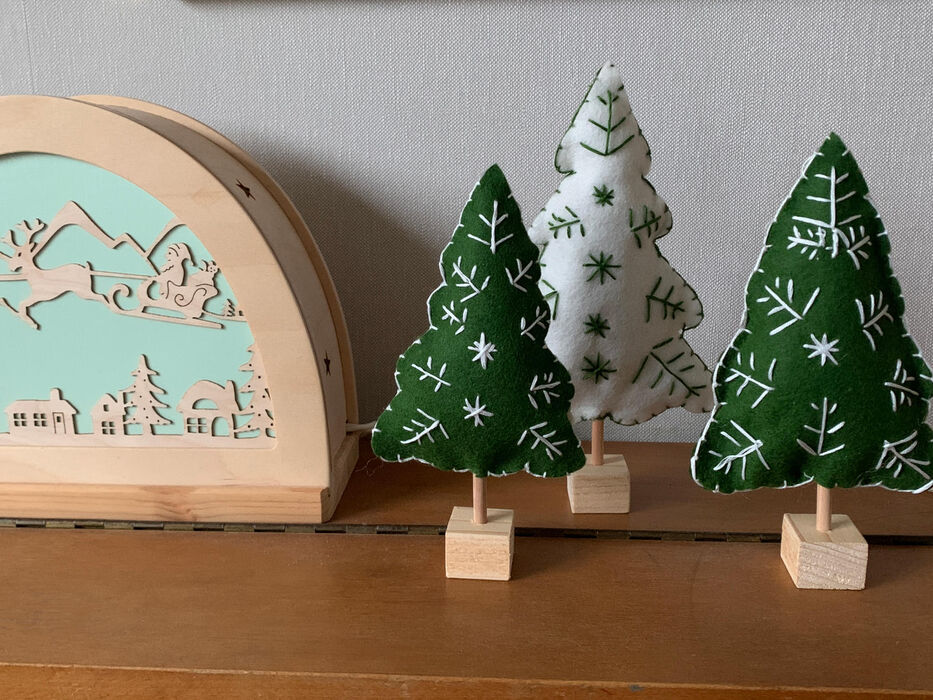
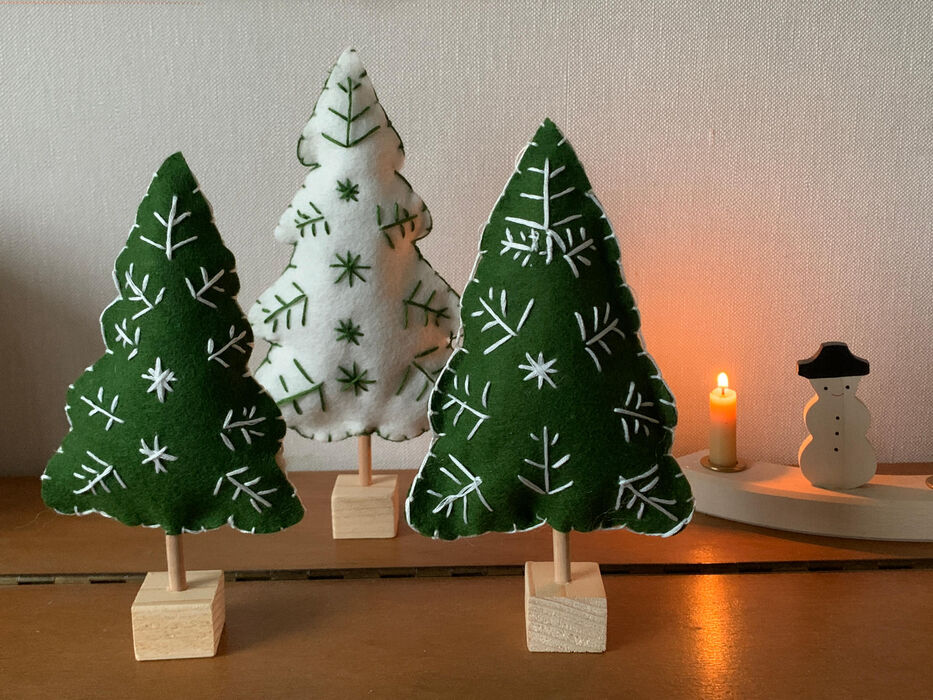
We're making cute Christmas trees out of felt and we include our pattern so you can make them too. This makes them extra easy to make. It's easy because we use simple stitches to embroider the trees: long and short straight stitches, and the familiar blanket stitch to join the halves.
This is a fun Christmas project, quick and easy, with a lovely result. Everyone can join in, because even the little monsters can do it well. The trees look festive anywhere, even on the dining table!
How you make these festive Christmas trees
Cut out the printed patterns
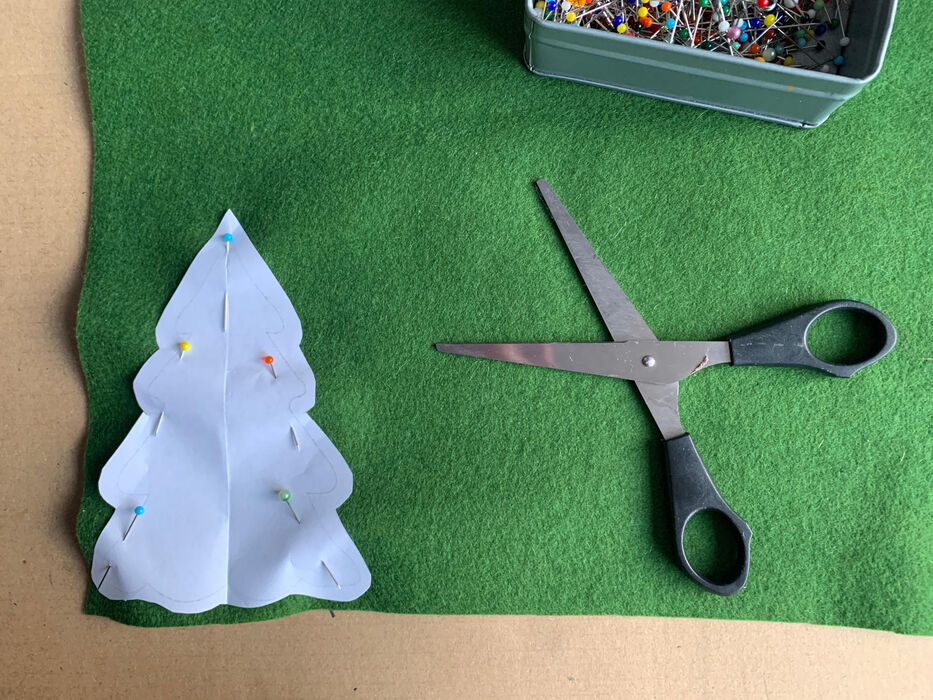


Pin the patterns onto the felt.
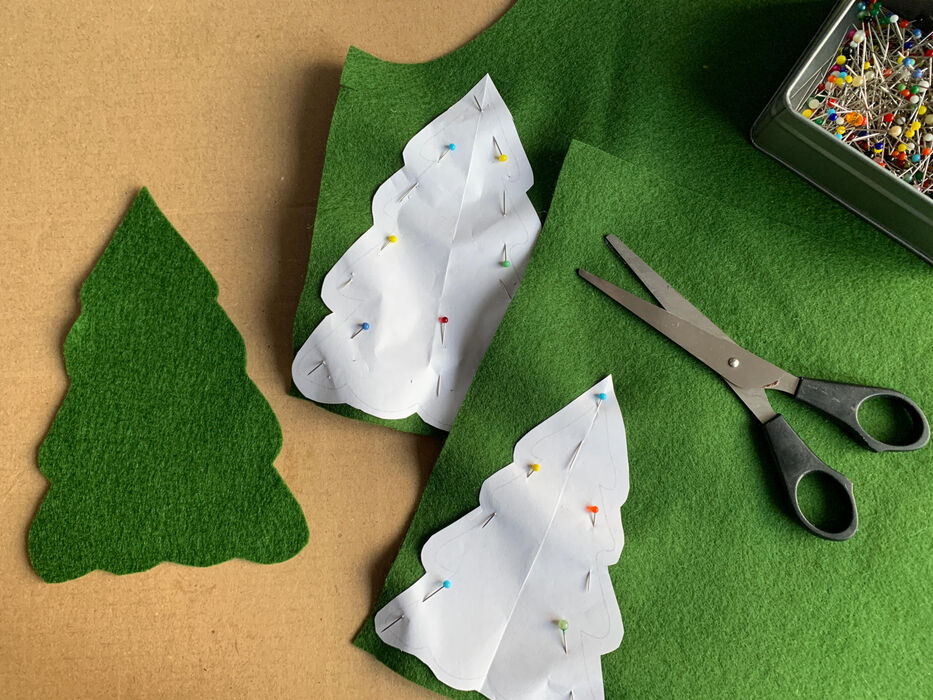
Cut out the patterns.
Pin the patterns on again.
Cut the trees out again.
Now you have three fronts and backs of the trees but we embroider only the front
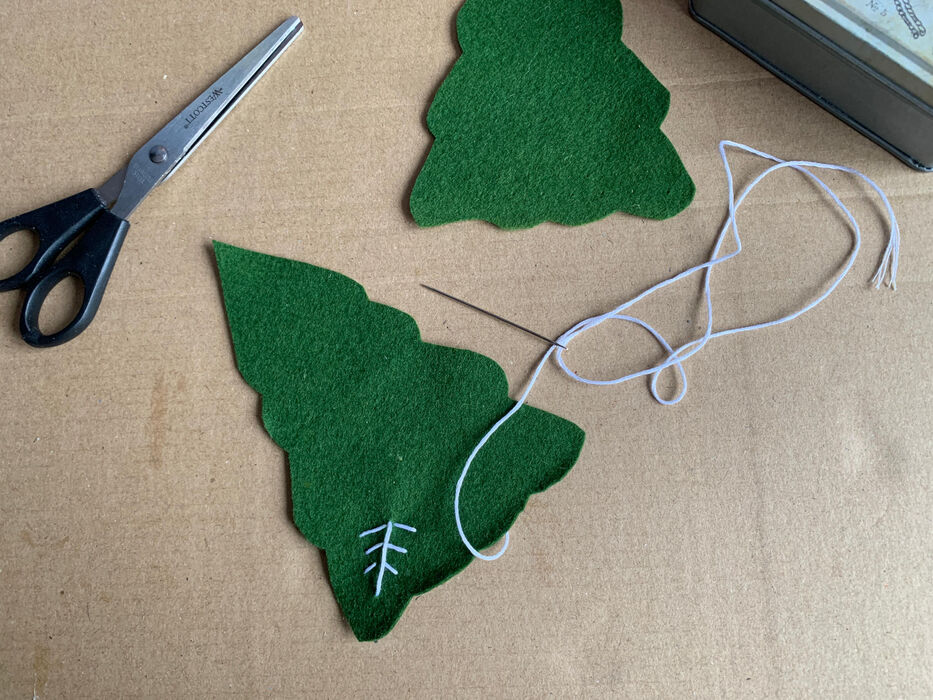
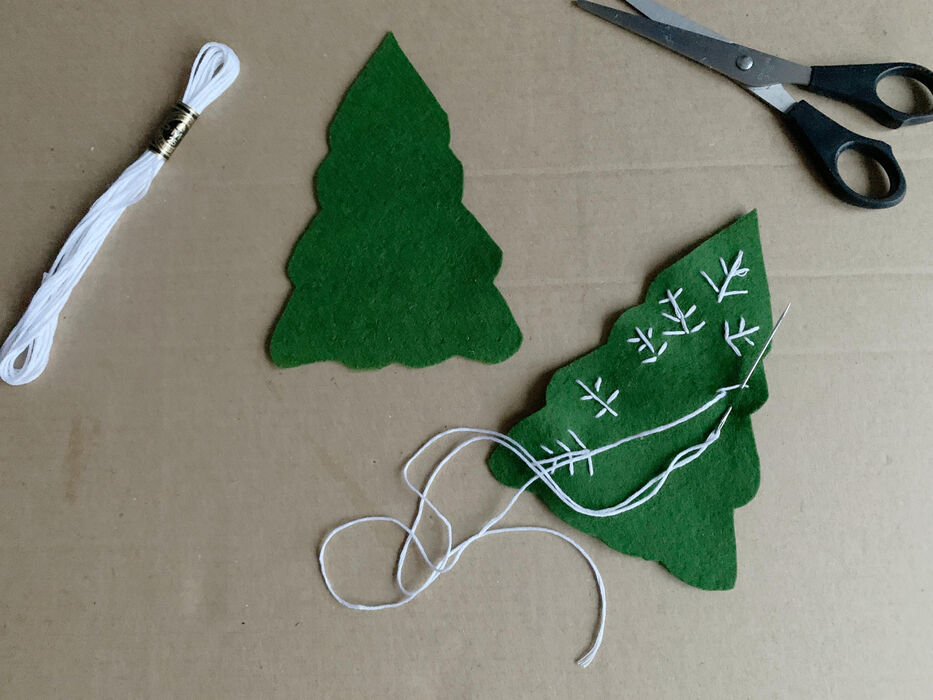
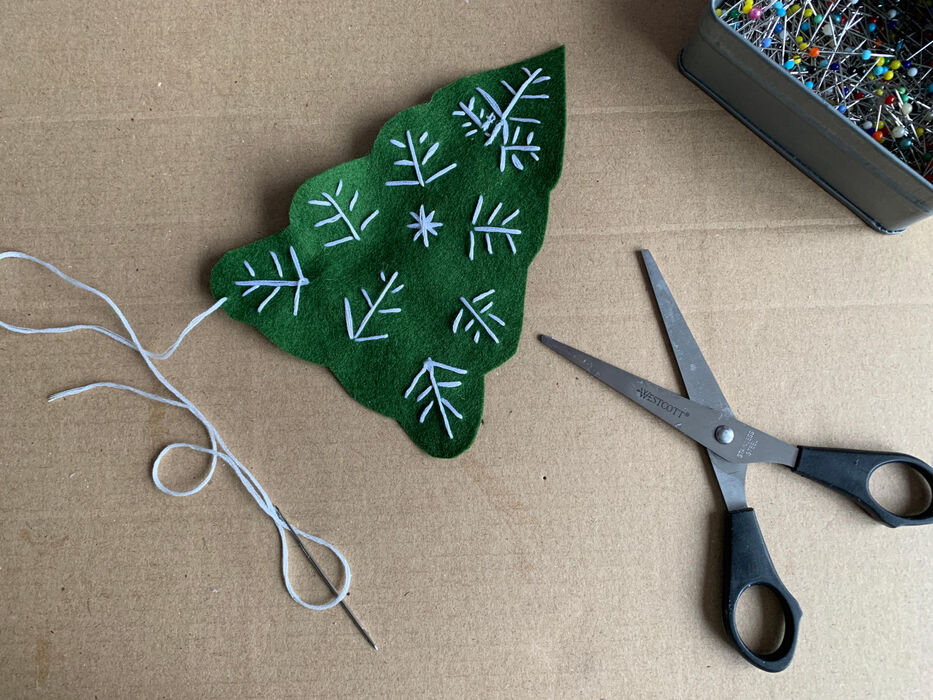
Embroider branches with straight stitches.
Embroider all around the tree.
In the center you embroider a star.
Make a star by first embroidering a plus + then embroider an x on top of it
Do not tie off the embroidery thread but pin the back of the tree on the front and continue with the blanket stitch around the outline of the tree!

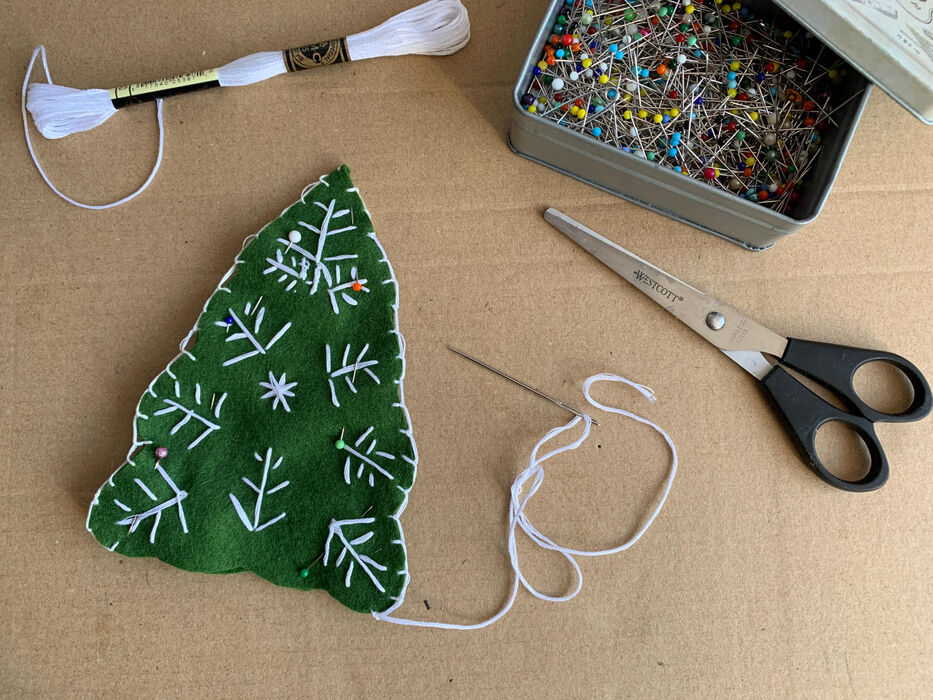
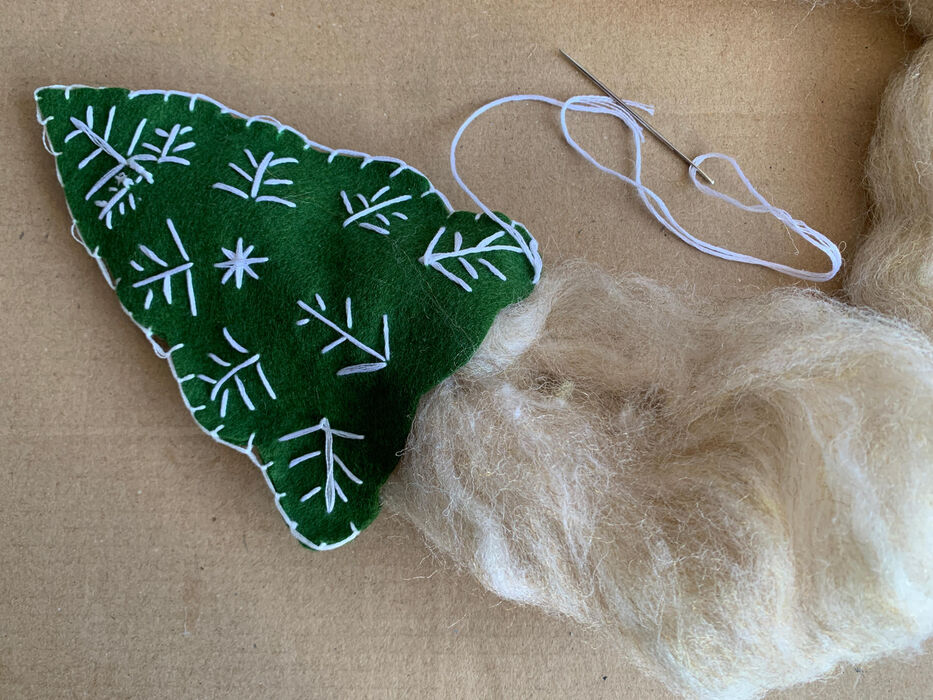
Stick the needle through the loop and pull tight.
Blanket stitch all around and let the thread hang on.
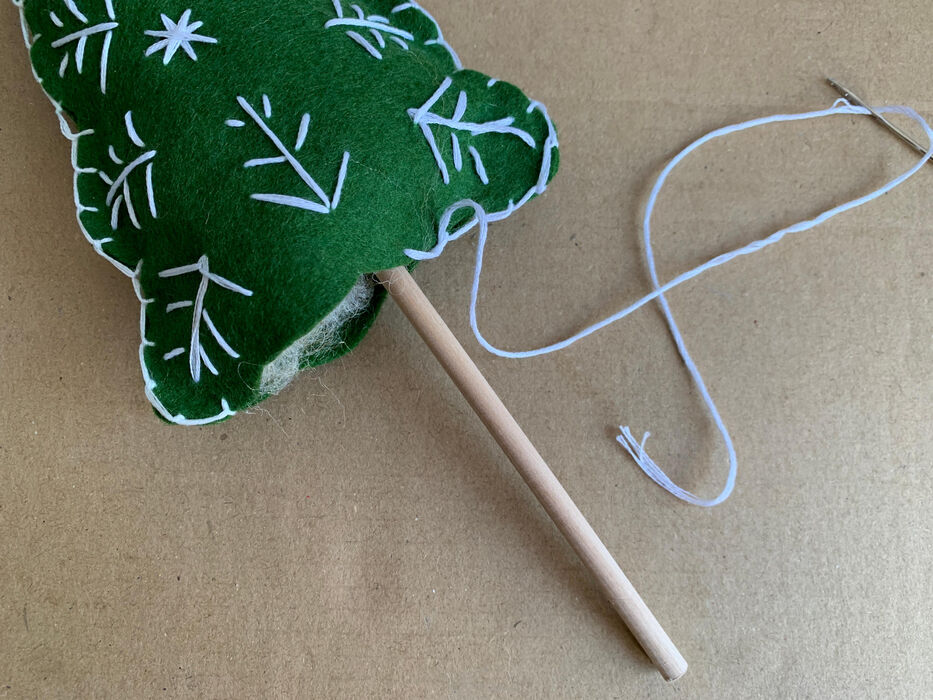
Stuff the tree with sheep's wool but do not use too much.
Blanket stitcg a little and insert the stick into the tree.
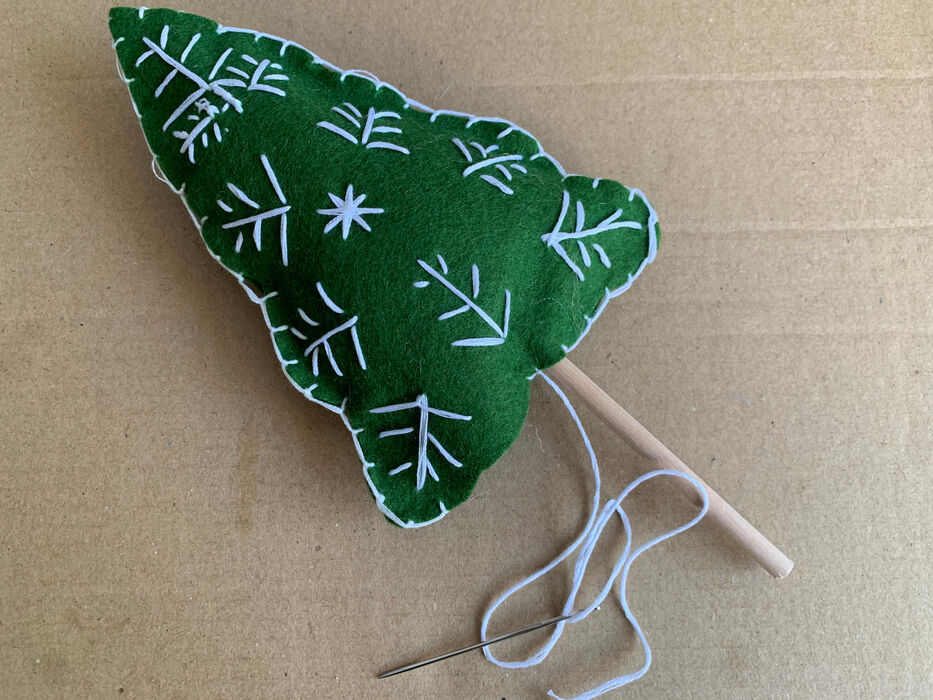

Close the tree with the blanket stitch.
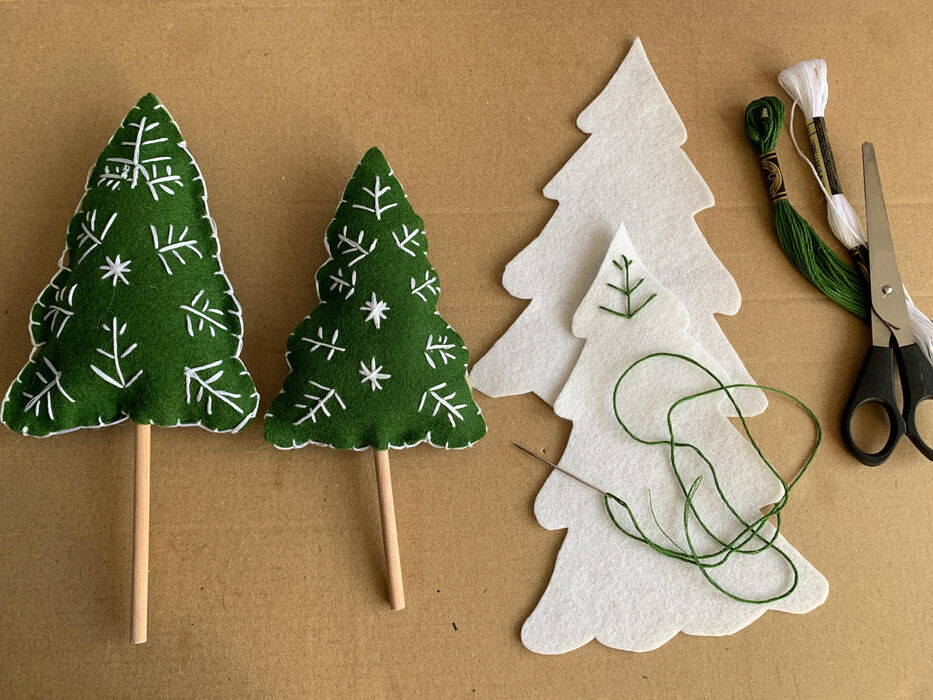
The green trees are done, then make a white.
Make it just like the green Christmas trees.
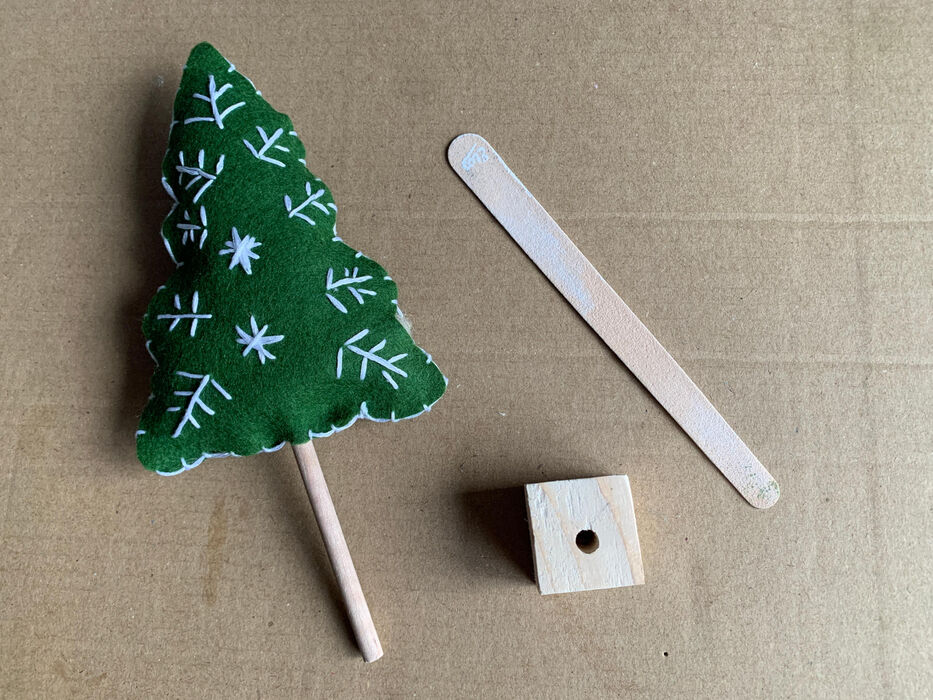
Saw off cubes and drill holes in them the size of your sticks.
Glue the sticks into the cubes, now your trees can stand up straight.
Merry Christmas!